
ACMS Needlework Floater Frames are certainly one of the most innovative products we have developed.
Floater frames have been around for a while and used quite a bit for framing canvas artwork. They have become popular for framing just about anything...including needlework. The generic version of these frames is limited to an "L" shaped frame in which you secured your artwork from the back. Anything beyond rectangular shapes is very hard to find.
We designed these floater frames specifically for the Needlework Industry. Ease of use was top priority as well as variations in shape, size and display options. We covered all the bases here...let's take a look at how these frames work.
Our Floater Frames are made up of three main components:Frame - Mounting Ring - Mounting Board
The Frame requires no explanation...it's a frame.

The Mounting Board is where you actually mount your work....it is the starting point of your framing process.

We designed these mounting boards to simulate canvas stretcher frames. They have rounded edges and are sloped inward (called a "fall") so your fabric doesn't touch the board. But the real reason we did that for the needlework industry is because the back of your work is sometimes bundled with floss. We wanted to make sure there was plenty of room to contain all that mess. We also made these solid so you can insert batten to create a pin-cushion effect.
One of the cool things we added to our mounting boards are built-in keyhole support holes. You'll be able to purchase the mounting boards by themselves and use them to display your work without frames....a nice step up from hanging a hoop for some. And at any point should you choose to place your art in a floater frame....you can do so easily.
The method you use to mount your work is your choice. Most will simply wrap their work and tie the opposite edges together with floss. Some like to staple their work in the back and some use duct tape. Our favorite method is to tie the edges together...mainly because it provides an easier way to create a pin-cushion effect for your artwork.
So now your work is mounted onto the mounting board...that was actually the hard part. Now you need to decide how you want to display it....which is the easy part.
Or so you think.....
With the number of ways available to display your art in these frames...you may actually find that the hard part is yet to come.
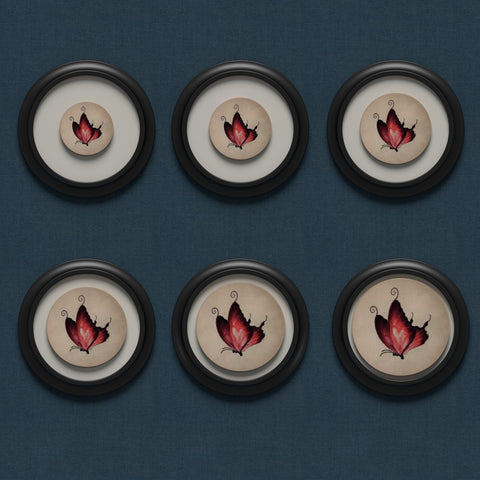
This is just one sample of a 12" round frame displaying mounting boards ranging from 6" to 11". If you take into account that both the frame and float gap (the space between the artwork and frame) can be any color you want....you realize that your options are truly endless.
The Mounting Ring is the component that makes these floater frames so versatile....these rings are the bridge between your artwork and the frame, allowing your artwork to "float" within the frame.

Now by default.....the "standard" amount of space between your artwork and the frame would be about 1/2". The assumption that this space has no use is something we do not subscribe to when it comes to the Needlework Industry.
To most in this industry....viewing the frame samples above with varying float gaps gives them ideas as to how they can include this space to enhance their art.
And I don't mean just different colors by the way...I also mean different materials.
For example:
You've created a Christmas themed embroidery...now imagine it placed in this frame with a large float gap in which we decoupaged a pattern onto.

The Mounting Ring itself can even act as a mounting board for another embroidery pattern...essentially creating a background to your main piece. Creating a background of a mountain scene with embroidery would be beautiful. Now a separate mounted embroidery of an animal, a saying, or something else of focus "floating" above your background scene.
The possibilities are truly endless....and over time you'll see what others have done with these frames. I have no doubt the wheels are turning in your head right now.
Oops!!
We almost did not touch on the INSTALLATION of these components.....that is mainly because installation is so simple it's almost not worth mentioning.
The Mounting Board and the Frames have built in threaded nuts in place. The mounting rings have holes (slots for round ones) that perfectly align the pieces. After you mount your work you secure the mounting board to the mounting ring with included bolts....and then you secure that assembly to the frame in the same way. Installation takes about a minute....no measuring or trying to figure anything out..it's THAT easy.

The reason the ROUND mounting rings have slots instead of holes is so you can rotate your art to match the keyhole supports. That way when you hang the frame your artwork is perfectly rotated. For other shapes there are no slots...just holes (rotational alignment is not an issue).
And finally.....
When you wrap your artwork around the mounting board....you will need to make sure the threaded nut openings are not obstructed (so you can insert the bolts). This means a small slit of sorts so the fabric does not cover those areas.